Mon to Sat: 8:00 am - 6:00 pm
When it comes to refreshing your kitchen cabinets, primer is the secret weapon that makes your paint job last longer, look smoother, and resist everyday wear and tear. Whether you’re planning a full kitchen makeover or a quick weekend DIY, choosing the right primer is one of the most important steps you’ll take. From primers that require no sanding to the top combos of primer + paint — we’ve got you covered.
Before we talk products, here’s the deal: cabinets get dirty, greasy, and are high-touch surfaces — so regular wall primers just won’t cut it. A good cabinet primer:
Bonds well to glossy or previously painted surfaces
Blocks stains, tannins, grease, and odors
Prepares the surface so paint goes on smoother and lasts longer
Reduces peeling and chipping over time
Without a quality primer, even high-end paint won’t stick properly — and that leads to premature failure. So don’t skip this step!
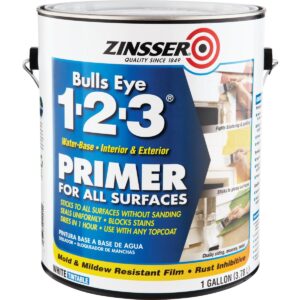
Sanding can be a time-consuming and dusty task — but there are primers made to stick even with minimal sanding:
How to Use
Clean cabinets thoroughly using a degreaser or TSP substitute to remove grease and oils.
Light sanding is optional, but not required for most surfaces.
Apply one thin coat using a high-quality brush, foam roller, or sprayer.
Allow it to dry for 30–45 minutes (very fast drying).
Lightly sand after drying for an ultra-smooth finish, then apply cabinet paint.
Benefits for Homeowners
Exceptional adhesion to wood, laminate, glossy, or previously painted cabinets
Blocks grease stains, water marks, smoke damage, and odors
Prevents paint peeling or chipping
Ideal for busy kitchens with heavy daily use
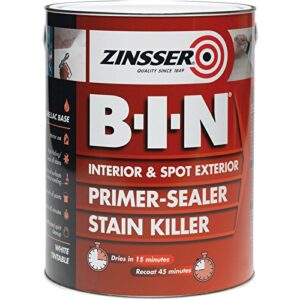
Zinsser B-I-N Shellac-Based Primer
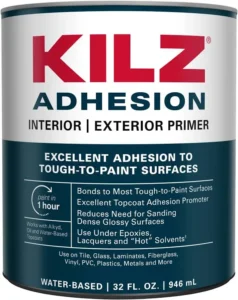
How to Use
Clean cabinet surfaces well—this primer performs best on grease-free surfaces.
No sanding required, making it DIY-friendly.
Apply with a brush or roller in an even coat.
Let it dry for 30 minutes to 1 hour before painting.
Benefits for Homeowners
Designed specifically to stick to slick, glossy, or hard-to-paint surfaces
Ideal for thermofoil, laminate, and factory-finished cabinets
Creates a strong bonding layer so paint doesn’t slide or peel
Low odor and water-based—safe for indoor use
How to Use
Clean cabinets and allow them to dry fully.
Light sanding is optional but recommended for best smoothness.
Apply using a natural-bristle brush or roller.
Dry time is about 2 hours before recoating or painting.
Light sanding after drying improves final paint finish.
Benefits for Homeowners
Excellent at blocking dark wood tannins, water stains, and old paint bleed-through
Works well on older cabinets, solid wood, and stained surfaces
Prevents yellowing and discoloration over time
Creates a durable base for enamel or cabinet paint
Clean First, Always: Remove grease and grime before priming — even no-sanding primers need a clean surface.
Don’t Rush Drying Times: Follow manufacturer warnings — let primer fully dry before paint.
Match Primer to Paint: Make sure your primer and paint are compatible (water-based primer under water-based paint or oil under oil).
Taking the time to choose and apply the right primer makes all the difference — whether you’re a first-time DIYer or planning to sell your home.
If you’d like personalized advice for your cabinets — wood, laminate, or painted — or want professionals to handle the job with guaranteed results, Custom Painting of Asheville INC is here to help! Just reach out for a consultation.