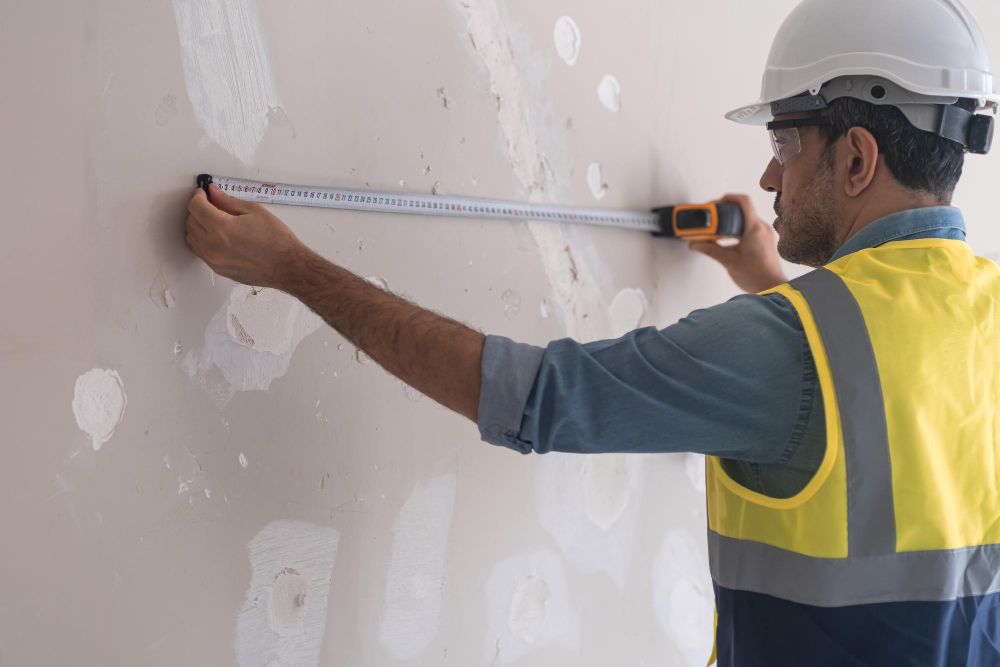
Drywall repair is an essential skill for homeowners. Whether it’s minor cracks, dents, or more
significant damage, knowing how to patch and repair, drywall can save time, money, and the
hassle of hiring professional Drywall Repair in Asheville, NC. If you’re in Asheville or
anywhere else, these simple steps will walk you through fixing your drywall like a pro.
What Causes Drywall Damage?
Drywall can be damaged by various factors, including:
● Impact of moving furniture
● Door handles hitting the wall
● Moisture damage due to leaks
● Settlement cracks in older homes
● Everyday wear and tear, especially in high-traffic areas
Can I Repair the Drywall Myself?
Yes! Most drywall damage can be easily repaired at home with a few basic tools and materials,
for more complex issues like large holes or structural damage.
What Tools Do I Need for Drywall Repair?
Here’s a quick list of tools you’ll need:
● Utility knife
● Drywall saw
● Sanding block
● Putty knife
● Joint compound
● Drywall tape
● Paint and primer
Easy Steps to Patch and Repair Drywall
Now that we’ve answered some common questions, let’s get to the actionable part: how to fix
your drywall.
1. Assess the Damage
The first step is to assess the extent of the damage. Are you dealing with a small crack, a dent,
or a large hole? The size and type of damage will determine how you’ll approach the repair.
● Small Cracks: Hairline cracks can be quickly repaired with joint compound and sanding.
● Dents and Small Holes: Often caused by nails or door handles, these can be patched
easily.
● Large Holes: These require more effort and may need a piece of drywall to patch the
area.
2. Cut Away Loose or Damaged Material
Using a utility knife or drywall saw, carefully cut away any loose or damaged drywall around the
crack or hole. Remove any hanging or damaged material to create a clean edge for your patch.
3. Apply Drywall Tape
Apply self-adhesive drywall tape over the damaged area for cracks and small holes. This will
help hold the joint compound in place and prevent future cracking.
You’ll need to attach a new piece of drywall for larger holes. Cut a piece slightly smaller than the
hole, and use drywall screws to secure it to the wall studs.
4. Spread Joint Compound
Applying a thin layer of joint compound over the tape or patch using a putty knife. Smooth the
compound evenly, extending it about 2 inches beyond the edge of the patch. This helps blend
the repair with the surrounding wall.
Pro Tip: Don’t over-apply joint compound—it’s better to apply several thin layers than one thick
one, as thick layers can lead to uneven textures.
5. Sand the Area
Once the compound is dry (usually within 24 hours), use a fine-grit sanding block to smooth the
surface. Sand in a circular motion until the patched area is level with the rest of the wall.
Safety Tip: Wear a mask while sanding to avoid inhaling dust particles.
6. Repeat if Necessary
If the patch still feels uneven, apply another layer of joint compound, sand it down, and repeat
the process until the area is completely smooth.
7. Prime and Paint
After your final sanding, it’s time to prime and paint the patched area. Always prime the patch
before painting to ensure an even finish. Once primed, paint over the area with a matching wall
color, and your drywall will look as good as new!
Key Tips for a Professional Finish
Here are some additional tips to make sure your drywall repair looks seamless:
● Feather the Edges: When applying joint compound, always feather the edges (thin them
out as you move away from the patch). This technique helps blend the repair into the
surrounding wall.
● Use the Right Grit: For rough patches, start with medium-grit sandpaper and finish with
fine-grit for smooth results.
● Match Your Paint: A mismatched paint color will ruin a flawless repair. Make sure you
have the correct shade on hand.
DIY vs. Professional Drywall Repair
While homeowners can do most drywall repairs, there are some instances when hiring a
professional might be necessary. If you’re dealing with water-damaged drywall, mold, or cracks
larger than 6 inches, it’s best to call an expert. For those in Asheville, NC, searching for “Drywall
Repair, Asheville, NC” will connect you with local professionals who can handle complex repairs
quickly and efficiently.
Why You Should Master Drywall Repair?
Learning how to repair drywall is a valuable skill that can save you from costly repairs. Not only
does it boost the aesthetic appeal of your home, but it also increases its value. Whether
patching a small hole or dealing with larger damage, following these steps will help you achieve
a professional result.
Remember, for homeowners in Asheville, NC, if the task seems overwhelming, plenty of local
professionals offer expert drywall repair services. Custom Painting of Asheville INC is a
trusted name in the area, and it is known for its exceptional drywall repair services. Whether it’s
a small patch or a more complex repair, they have the expertise to do the job right. If you’d
rather leave it to the pros, they offer reliable solutions to ensure your home looks its best.