Mon to Sat: 8:00 am - 6:00 pm
Embarking on a painting project can transform your home, boosting curb appeal and refreshing
interior spaces. However, achieving professional-looking results starts long before the first
brushstroke. If you're searching for the best house painters in Asheville, NC, understanding
the essential preparation steps is crucial. Whether you're a DIY enthusiast or planning to hire
experts, proper preparation ensures a flawless finish and longevity for your paint job.
Preparation is the backbone of any successful painting project. Skipping or skimping on these
steps can lead to uneven finishes, peeling paint, and wasted time and resources. According to
industry experts, up to 70% of painting failures are due to inadequate preparation. Investing
time upfront saves money and effort in the long run.
Painting your home can breathe new life into your space, but proper preparation is the secret to
achieving professional results. Before you dive into your Interior painting project, follow these key steps
to ensure a flawless and long-lasting finish.
Start by thoroughly assessing the areas you intend to paint. Identify the surfaces, their
current condition, and any repairs needed. Planning involves selecting the right type of paint
and tools and determining the timeline. Consider weather conditions for exterior painting to
ensure optimal drying and curing.
Having all the required tools and materials on hand streamlines the preparation process.
Essential items include:
● Quality paintbrushes and rollers
● Drop cloths and painter's tape
● Sandpaper and scrapers
● Primer and sealant
● Protective gear (gloves, masks, goggles)
Pro Tip: Using high-quality materials may cost more initially but provides better results and
durability.
Declutter the space by removing furniture, decorations, and any obstacles that might interfere
with painting. For exterior projects, ensure your yard is tidy and protect plants and outdoor
fixtures from paint splatters. Use drop cloths to cover floors, furniture, and fixtures indoors to
safeguard against accidental spills.
Clean surfaces meticulously to remove dust, dirt, grease, and mildew. A solution of mild
detergent and water works well for walls and ceilings. Exterior surfaces may require power
washing to eliminate grime and prepare the surface for painting. Clean surfaces ensure better
paint adhesion and a smoother finish.
Inspect surfaces for cracks, holes, and other imperfections. Use spackling or filler to patch
up any damages. Sand the patched areas once dry to create a seamless surface. Addressing
these issues beforehand prevents blemishes from showing through the paint, ensuring a
professional appearance.
Sanding is crucial for creating an even surface. It helps remove old paint, smooth out rough
spots, and create a texture that allows new paint to adhere properly. Use appropriate sandpaper
grit for different surfaces, and always sand in the direction of the grain to avoid scratches.
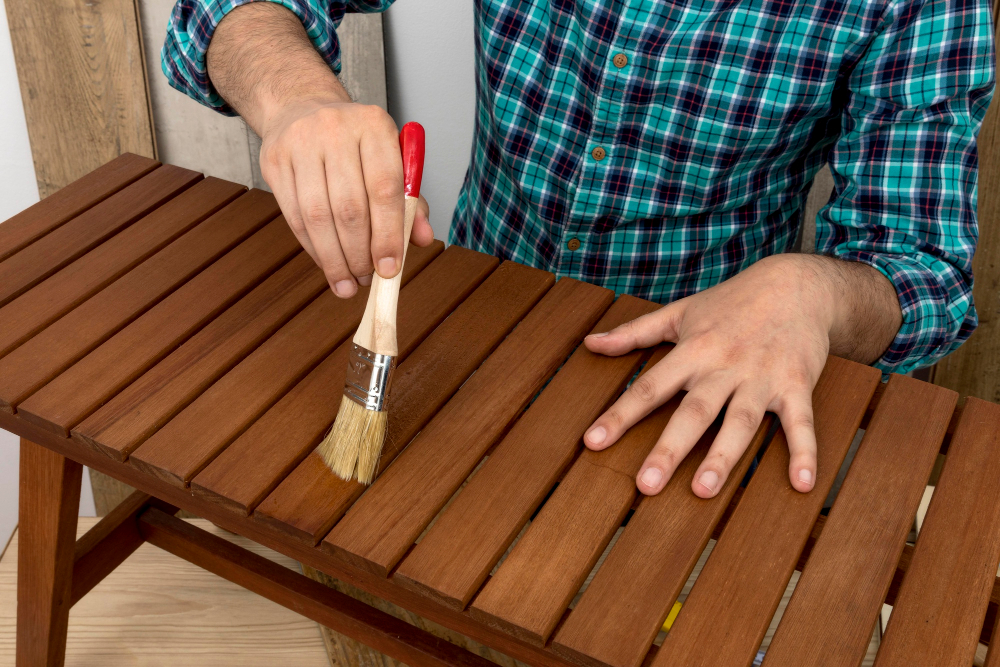
Applying a primer is vital, especially on new surfaces, stained areas, or when switching paint
colors. Primer enhances paint adhesion, blocks stains, and ensures uniform color distribution.
The right primer for your specific surface type (e.g., wood, drywall, metal) is essential for optimal
results.
Mask off areas you don't want to paint, such as window frames, door knobs, and baseboards.
Use painter's tape to create clean, sharp lines and protect these details from accidental paint
spills. Removing or covering fixtures ensures a neat and polished finish.
Maintain good ventilation when painting, especially indoors. Open windows and use fans to
circulate air and help paint dry faster. Wear protective gear like masks and goggles to safeguard
against fumes and splatters. Safety should always be a priority to prevent health hazards and
accidents.
Before committing to a color, test samples on a small area to see how they look under
different lighting conditions. This step helps you visualize the outcome and make adjustments
as needed. Choosing the right finish (matte, satin, gloss) can significantly impact the room's
appearance and functionality.
The preparation timeline varies based on the project's scope. For a standard interior room,
expect 1-3 days for cleaning, sanding, repairing, and priming. Exterior projects may take longer,
especially if weather conditions are a factor. Proper planning ensures you allocate sufficient
time for each step.
While not always mandatory, primer is highly recommended, especially on new surfaces,
previously painted areas, or when changing colors drastically. Primer enhances paint adhesion,
blocks stains, and ensures a more vibrant and lasting finish. Skipping primer can result in
uneven color and reduced paint durability.
Even if a surface appears smooth, sanding helps ensure better paint adhesion and a flawless
finish. It removes microscopic imperfections and creates a uniform texture for the paint to
adhere to. For the best results, lightly sand all surfaces before painting.
Semi-gloss or satin finishes are ideal for high-traffic areas like hallways and kitchens. These
finishes are more durable and easier to clean, making them suitable for spaces that endure
frequent use and cleaning.
Remove as much furniture as possible from the room to protect your belongings. For largeritems that can't be moved, cover them with drop cloths or plastic sheets. Use painter's tape tomask off areas near furniture and fixtures to prevent accidental paint splatters.
Proper preparation is the key to a successful painting project, ensuring a beautiful and lasting finish. Whether tackling an interior makeover or enhancing your home's exterior, following these essential steps will set you up for success. When its time to bring your vision to life, partnering with the best house painters in Asheville, NC, can make all the difference. Their expertise and commitment to quality ensure your home looks its absolute best, transforming your space with precision and care. Ready to elevate your home's appearance? Contact Custom Painting of Asheville INC today and experience the difference that professional preparation and expert painting can make. Don't wait—transform your home now and enjoy the vibrant, fresh look you deserve!